


Is your Upwork profile getting rejected? So how to get an Upwork profile approved even if it has been rejected previously?
Main Content
How to Get Upwork Profile Approved even after its Rejected

Upwork Proposal Sample That Actually Converts
My Upwork proposal sample is opportunity to introduce, highlight expertise & ask questions to show how I’m the best person for the job

How to Get Your First (or Next) Client on Upwork?
Let me share 11 pro tips as a developer to help you get your first (or next) client on Upwork quickly. Let us embark on your journey of freelancing.
I really like your blog biztips.co and it really inspired me to start freelance work and start side income!Yash Jain


35+ WordPress SEO Checklist to Maximize SEO for WordPress
WordPress SEO Checklist for Beginners. 35 SEO Tips for WordPress to help improve your WordPress SEO and get more organic traffic from Google.

How to Earn a Living Blogging In India (2022)?
Blogging is one of the smarter ways to earn a living in India in 2022. Yet we try to trick SEO or social media traffic for quick money. It doesn’t work.

How to Start a Programming Blog in 2022?
The DIY guide with screenshots of every step and written by a programmer for programmers to help start a programming blog in under an hour
I believe blogging is a matter of "when" and not "if" for a long and successful freelancing career.Shabbir Bhimani

Payoneer Review – An Indian Freelancer’s Perspective
Review of Payoneer by an Indian freelancer who recommends it to everyone over PayPal for better forex rate and lower transaction fees
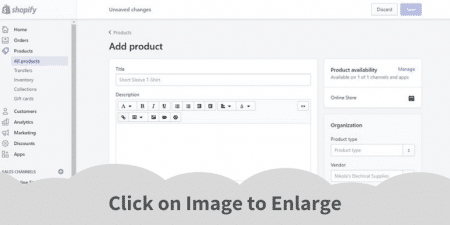
How to Setup an Indian Shopify Store – Step By Step Guide
Setup an Indian Shopify store with my step by step guide with screenshot. Help you launch your own professional looking ecommerce Shopify store in minutes

Grammarly Review – A Must Have Tool for Every Indian Blogger
I thought I am good in grammar, but when I checked my work against Grammarly, I found how badly I needed it. So here is my view and review of Grammarly.
Shabbir is always willing to help and answer readers questions. There are very few bloggers who will share their personal mobile number with readers to clarify further on my query.Abhishek Yadav